

Yakisugi is a traditional method of wood preservation. Charring wood is not specific to Japan, but charring sugi (Japanese cypress) for cladding use is a traditional feature of some Japanese architecture. It’s been used primarily for practical reasons — charred wood is less susceptible to rot and moisture damage, insect damage, and ironically enough, it’s more resistant to fire. Plus, it looks pretty badass if you ask me.
I first saw a video of a guy burning sugi boards several years ago and was entranced. I knew that I wanted to try it sometime, and I decided to use our first timber frame as an experiment. So I bought a torch and lit up our white oak timbers. Read ahead for more…

Water beads on the surface of freshly charred braces
Yakisugi: Preserving Wood with Fire
To be clear, I didn’t specifically choose to char our oak timber frame for increased water, insect, and fire resistance. White oak is quite rot resistant out of the gate. It’s also less susceptible to our local carpenter bees than softwoods. And there’s no real threat of fire for this building. Aesthetically, the finish is quite beautiful and very stark. Ultimately, this was an aesthetic choice. Here’s a good description of why this burning process helps preserve wood:
The heat treatment improves the lifetime of the planks by preventing decay and rot, discourages insect infestation, improves dimensional stability, and improves flame retardant properties. Wood is made up of fibrous lignin and metabolize-able cellulose, and heat treatment leaves the structural lignin intact while neutralizing the cellulose. Since cellulose contains the sugars so desirable to insects, bacteria, and fungus, heat-treated wood will last longer than untreated wood. (Source)
Typically, a yakisugi finish is reserved for siding. There are some examples of torching whole timbers (see the famous house of Jacob of Northmen, also here), but not many. (Leave a comment if you know of other examples!) So I would consider this an experiment for sure. For one, the white oak is not seasoned — there is still plenty of residual moisture in the wood. Will that affect the finish long term? Or will it affect how the wood continues to dry? I’m not sure. Typically, torching is reserved for dry wood.
Charring the Timbers
Prepare the Wood
The first step was cleaning up the timbers. All of the stray layout lines, pencil and crayon lines included, need to go away. (Amazingly, pencil lines will show up even after the surface has been burned.) Oh yea, important to note — this is the final step of the timber framing process. I would never char wood and then cut the joints, ha! Basically, burning is the last step before actually raising the building.

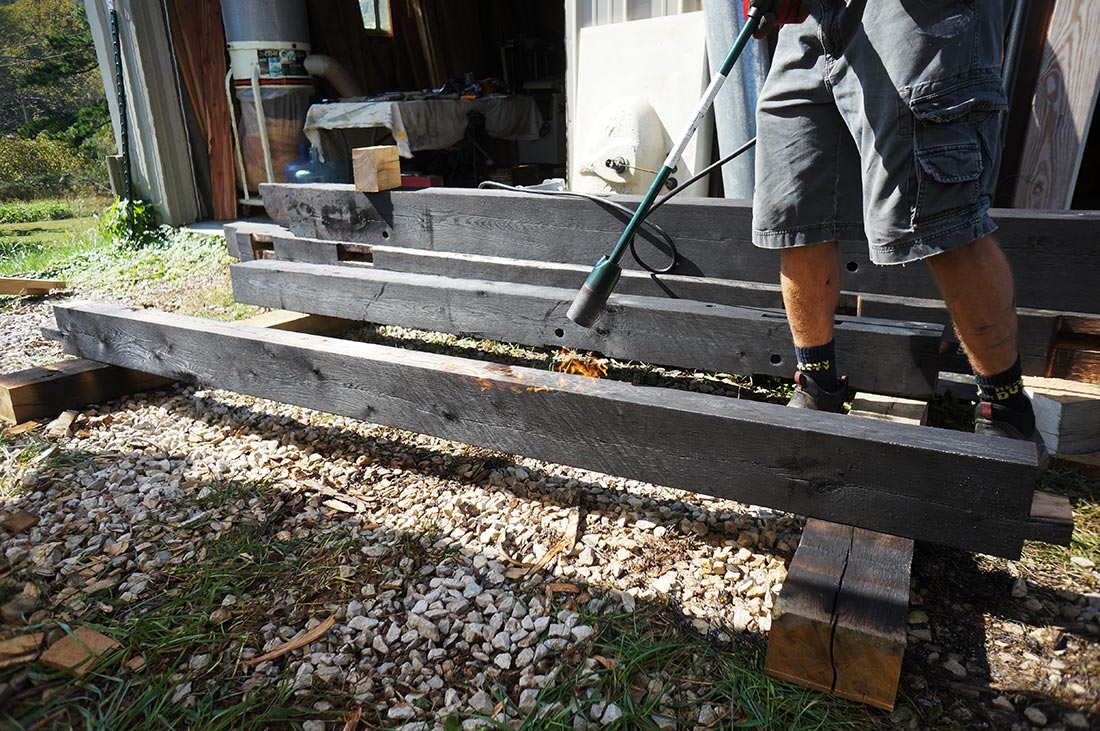
Torch It
Once the wood has been planed and cleaned, the surface is hit with a propane torch. I bought a $60 “weed torch” — a propane tank attachment marketed for burning weed growth. Luckily, the wood sat (in the shade) for a few months before it was time to char. That means at least the outer surface of the wood showed signs of drying. The torch did a good job, even considering the size and type of timbers here. You can watch this video to see how long it takes in real time to achieve what I would consider a “medium burn”. (A deep burn, or wood with an “alligator skin” finish would be a heavy burn… and thus take longer.)
Burnishing the Surface
I think there’s a lot of variation in this step, so don’t quote me on this. At this stage in the game, you can choose to remove some or none of the surface char with a wire brush, or in my case, a scotch brite pad. I found the scotch brite pad to be the perfect level of coarseness to remove the littlest bit of soot and give the wood some shine in the process. Following up the burnishing with either an air compressor or wet rag will help clean up residual soot afterwards. NOTE: wear a respirator when you do this step!
Removing greater amounts of the surface char will reduce the benefits of torching it in the first place (weather resistance, etc.)

Oiling the Wood
Again, I think there’s variation here too, but here’s what I did: I slathered the wood with a 50:50 mix of raw linseed oil and turpentine. (Turpentine is a thinner and helps drive the oil further into the wood.) The charred surface is very thirsty and takes up oil quickly. One coat, two? I don’t know what is preferred, but I did just one. Other oils are appropriate here too, such as tung oil. I want to research this some more.

And Finally…
Needless to say, the transformation from raw timber to charred wood is dramatic. Frankly, I love how it looks. It’s dark, bold, and just so darn pretty. The surface is susceptible to scratching, so handle with care! I plan to experiment further with this finish, so stay tuned for more…


Sweet! I love the contrast between timbers and pegs.
Thanks Mark!
Your joinery looks awesome!
Thank you Paul!